Building a 3D Printer
Overview
Built and tested a Prusa I3 MK2 kit, and built a custom power supply box for the printer and a Raspberry Pi. Installed OctoPrint, a free operating system for the Raspberry Pi, which allows interfacing with the printer over the internet to log data, provide simple temperature control, and remote view the active print using a webcam.
Parts
- Prusa I3 MK2 (Unassembled)
- Raspberry Pi 3
- Custom Electric Box
Details
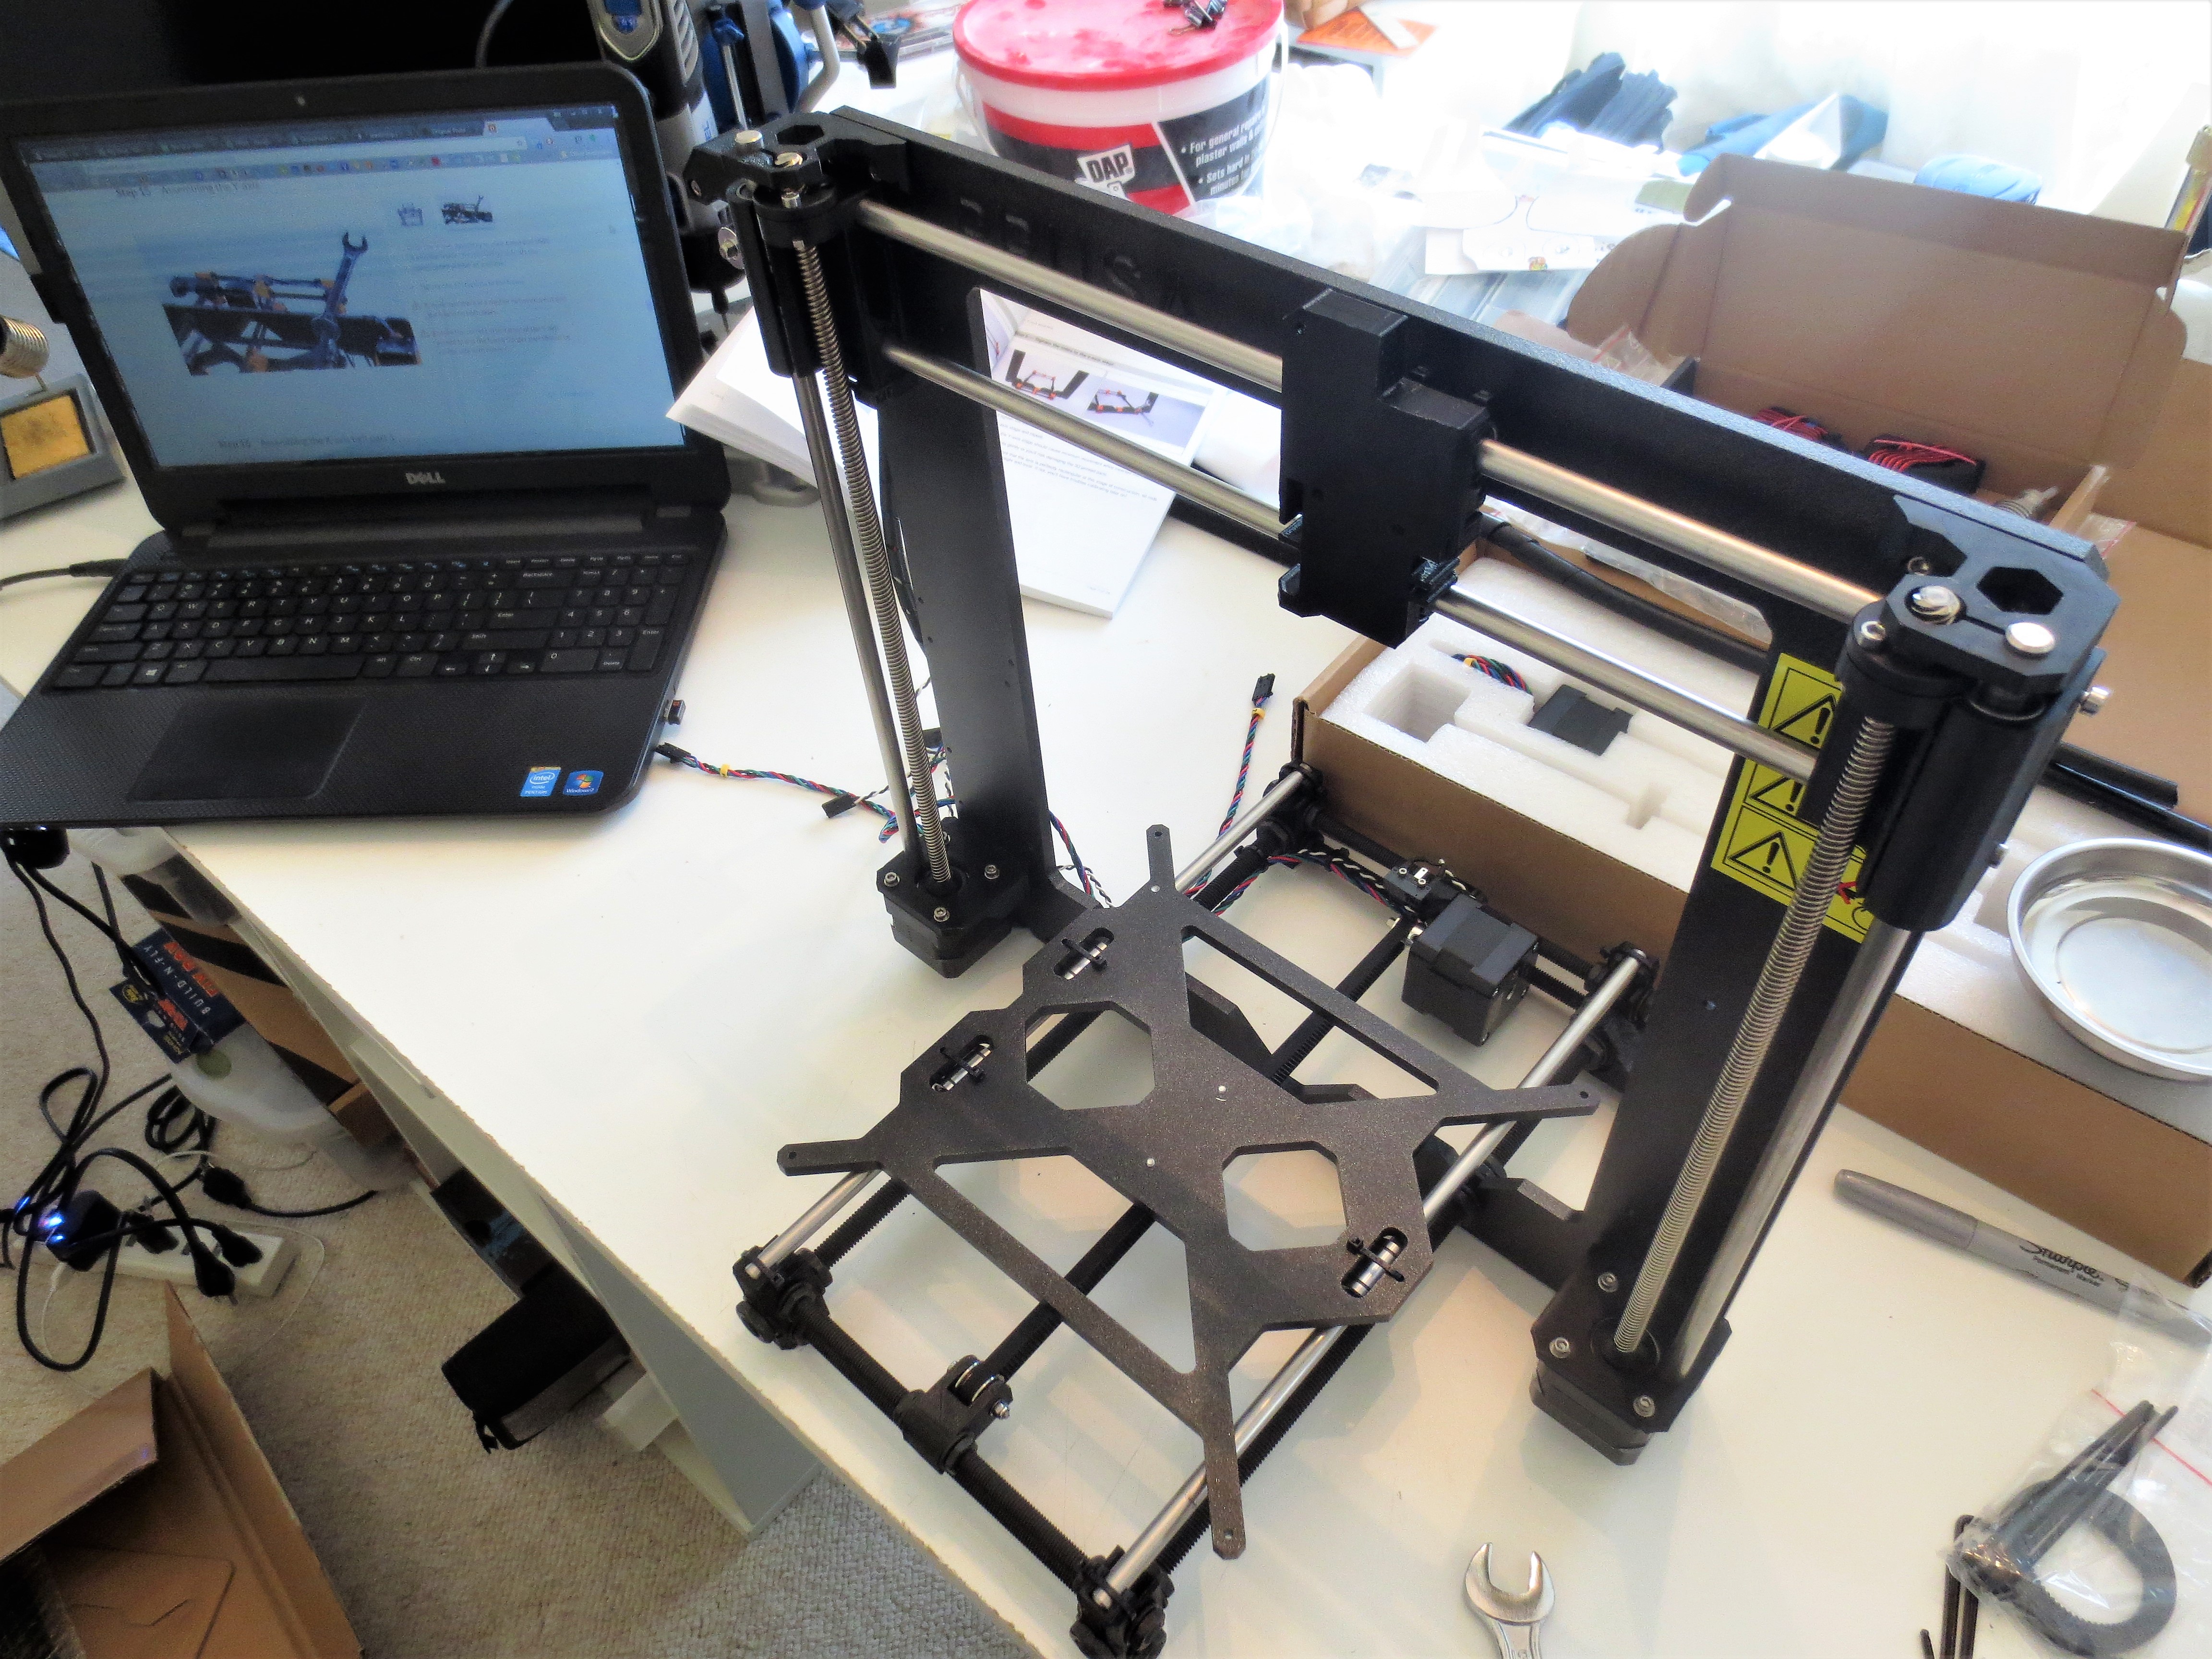
The Prusa I3 MK2 kit is one of the best printers for the price at this time, and assembling it yourself reduces the price even more. The kit is very easy to assemble, no soldering required! The hardest part of the assembly process, as usual with 3d printers, is the calibration steps at the end. With the Prusa I3, they make this part simpler by adding a cool probe which automatically detects the location on the print bed. As a result, we were up and printing very quickly. I later discovered a cool piece of software called OctoPrint, a free operating system for the Raspberry Pi (a $35 mini computer). OctoPrint plugs into and controls the printer, allowing you to interface with it over the internet, versus having to load files on the SD card and move them to the printer each time. In addition, OctoPrint allows logging of data, easy temperature control, and remote viewing of the active print using a webcam.
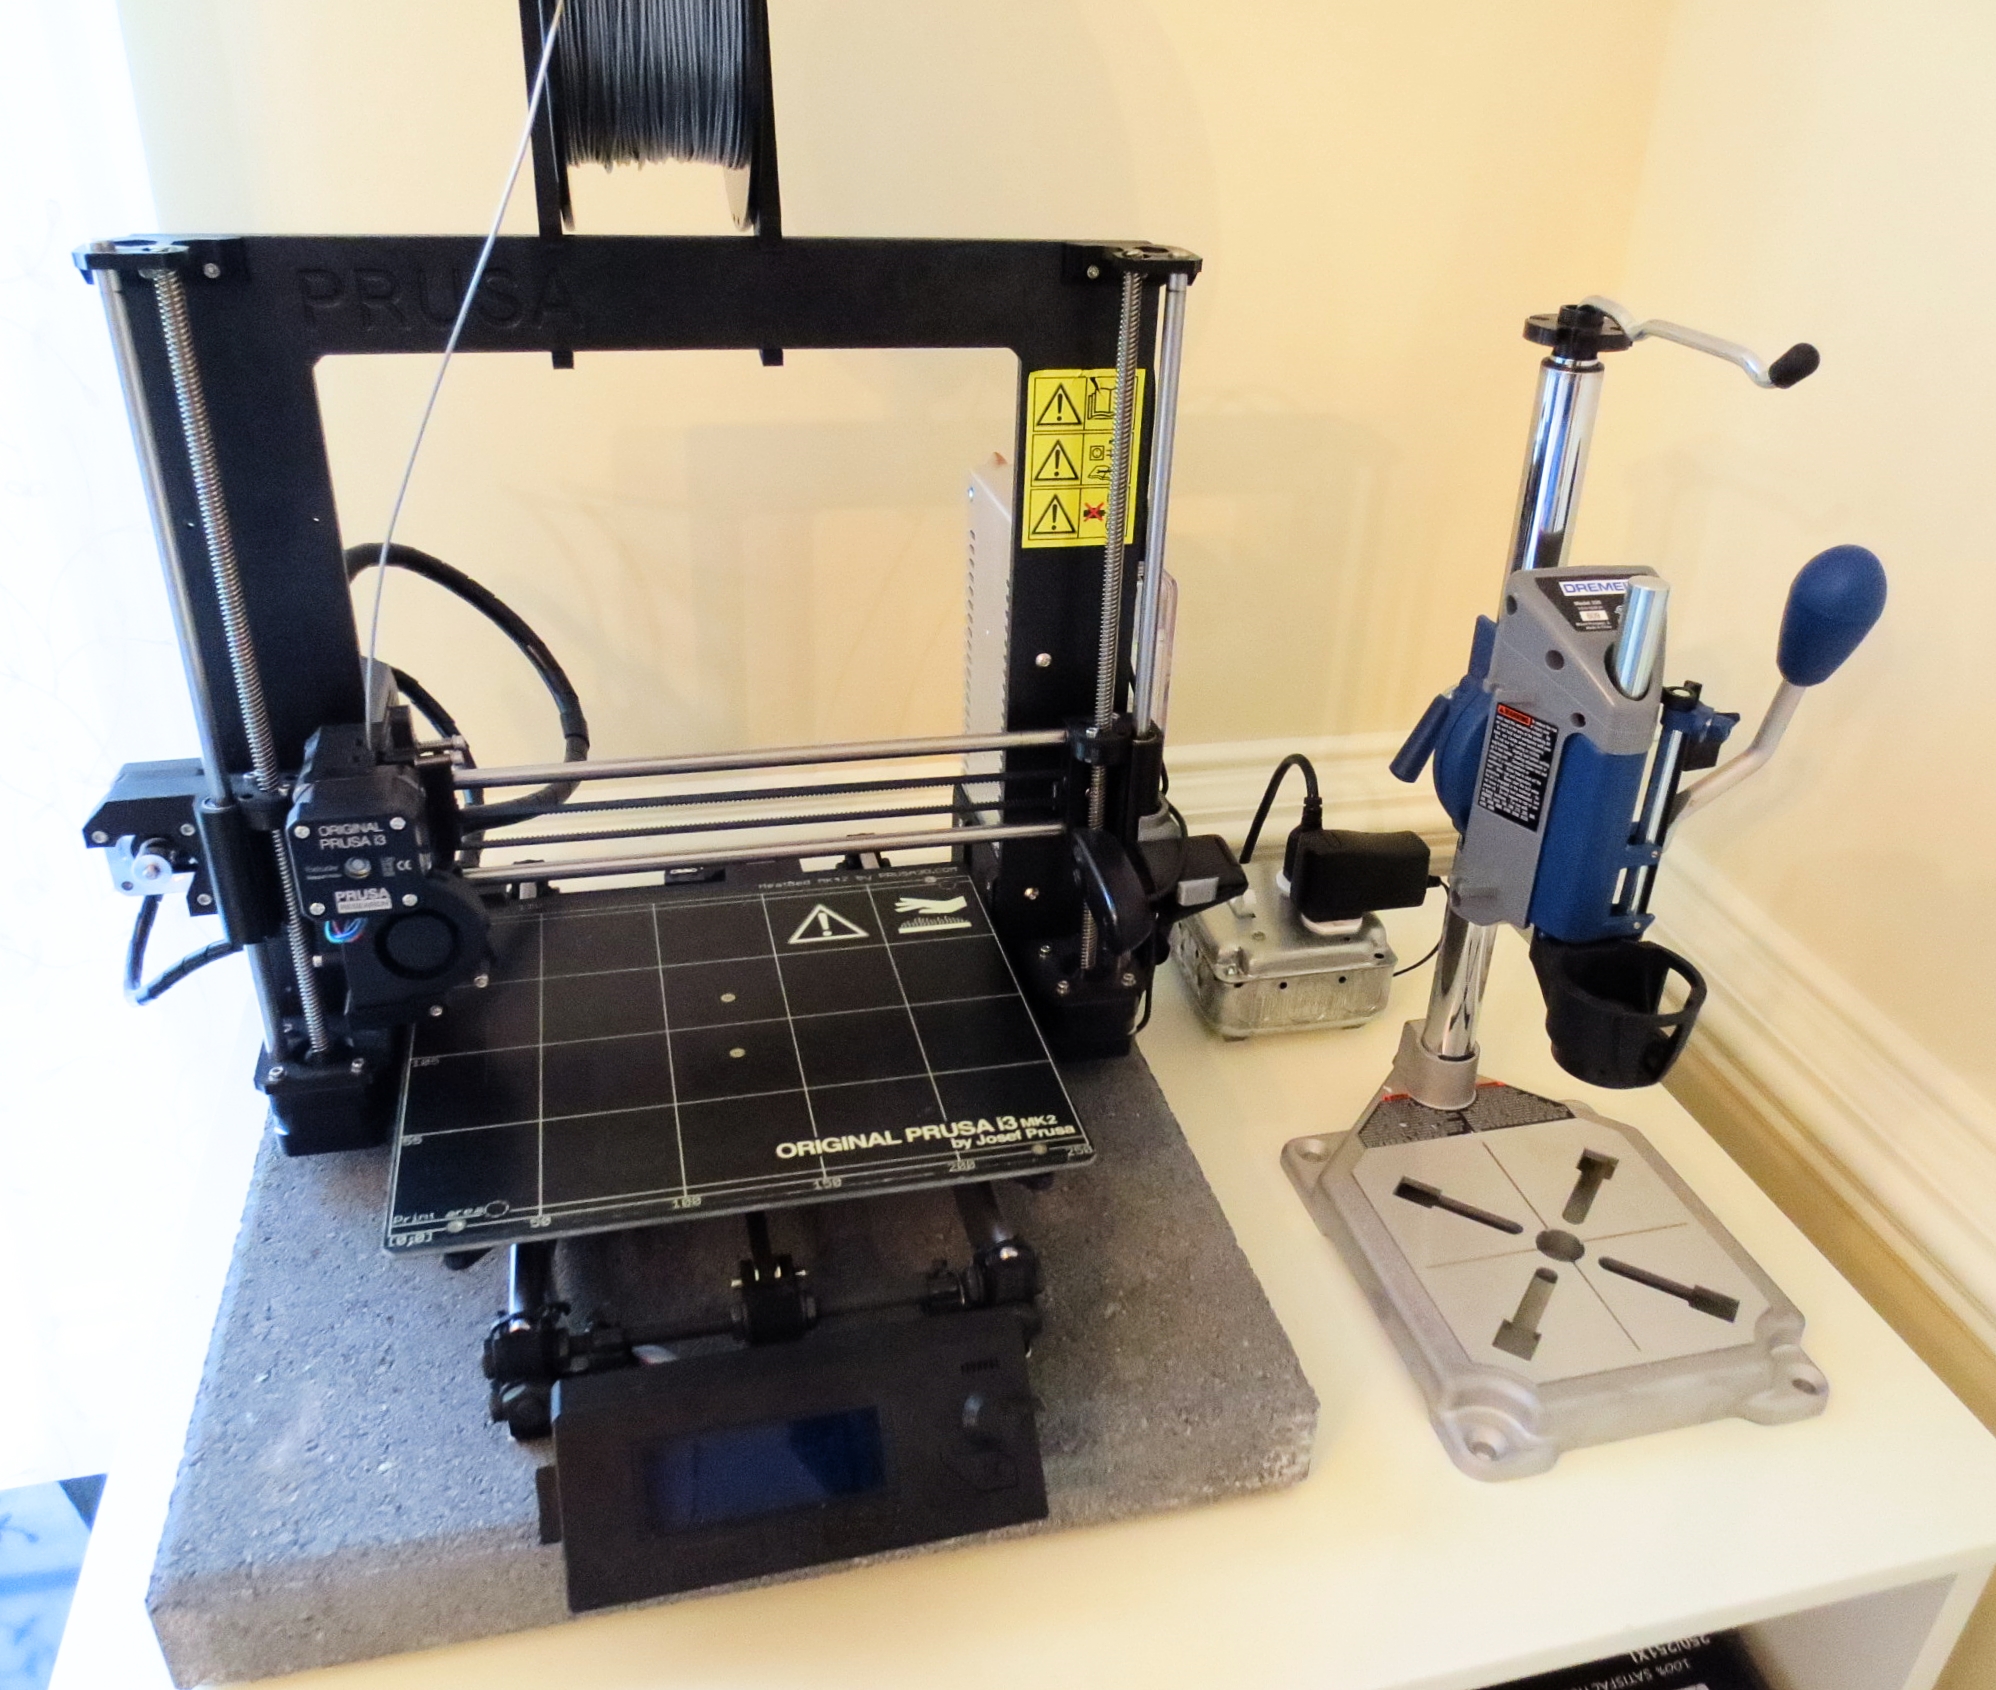
Since the printer and the Raspberry Pi were located together as one element, we needed to power both of them and be able to turn power on and off for the Raspberry Pi. For this I got standard electrical outlets, a switch, a cord with plug, and a metal junction box. I assembled these as a custom extension cord with two outlets that are controlled by one switch, to turn the printer and Raspberry Pi on and off at the same time. Here is a picture of the 3D Printer with the switch (back right).